Published in the May 24 – June 6, 2017 issue of Morgan Hill Life
By Kate Russell

Kate Russell
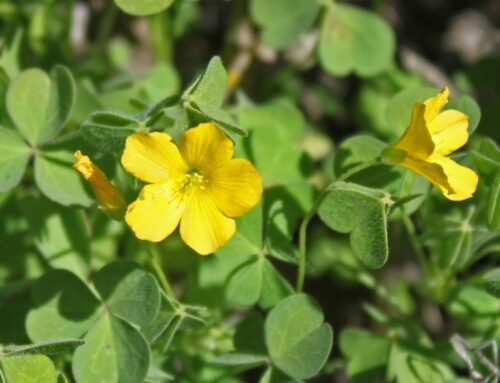
Transplanting young seedlings is a rite of spring for many Morgan Hill gardeners. Learn how to transplant your seedlings safely, making it easier for them to thrive.
Benefits of seed starts
Some plants, such as lettuce, have tiny seeds that need light to germinate. Planting these directly in the ground often leads to losses due to wind dispersal or rotting under too much soil. Starting these plants in containers makes it easy to monitor them and keep the soil moist until the seeds sprout.
As seedlings grow, they can become root bound, which means the roots start wrapping around the inner wall of the container. Before this happens, you can up-pot or transplant those seedlings. Up-potting means moving a seedling from a small container to a slightly larger one. Transplanting means moving the plant to where it will live out its life.
When not to transplant
Plants that are fruiting, flowering, infested, or infected should generally not be transplanted. New transplants need to be able to focus on building strong root systems. Also, just as some people are more sensitive than others, some plants do not take kindly to being transplanted. The following plants should be sown directly into the ground whenever possible: artichoke, beans, beets, butternut squash, carrots, corn, cucumber, dill, melons, onions, peas, radishes, summer squash and zucchini.
How to transplant seedlings
For many vegetables, you can transplant seedlings with the first leaves below the soil line. Very often, these meristem tissues will transform into root tissues, adding nutrients to the plants. Once the seedlings are a couple of inches tall, prepare their new home, making sure the soil is loose.
The South Bay’s heavy clay can form an impenetrable barrier to new roots if it is left smooth from a trowel or shovel. Be sure to rough up the edges of the planting hole. Then, follow these steps to successfully transplant the seedlings:
1. Place your hand over the container with the plant between your fingers.
2. Gently turn the pot on its side or upside down, tapping the bottom with your other hand to knock the soil loose.
3. Cup your first hand to hold onto as much of the soil as possible.
4. Examine the roots and spread them out if they have started wrapping around themselves.
5. Slowly turn your hand, allowing the root system to roll into the hole.
6. Ensure all roots are covered with soil. If peat pots were used, make sure all of the peat is covered, as well.
7. Gently pat the soil down to eliminate any big air pockets. (Most roots don’t like being exposed to air.)
8. Water thoroughly.
Caring for new transplants
New transplants should be treated gently for a few days. To help a young seedling thrive in its new environment, in a process called ecesis, be sure to:
Harden off seedlings before transplanting; water regularly, allowing the soil to dry out between waterings; do not use insecticidal soap or other treatments right away; feed transplanted seedlings with fish emulsion or phosphorous a few days after their ordeal; protect seedlings against cutworm damage by inserting a paperboard ring a couple of inches into the soil; provide wind protection by cutting the bottom out of large plastic jugs and placing them over vulnerable plants.
Visit the South County Teaching and Demo Garden, at St. Louise Hospital, 9400 No Name Uno. For more information, visit www.mgsantaclara.ucanr.edu/events or call (408) 282-3105 between 9:30 a.m. to 12:30 p.m.
Kate Russell is a UCCE Master Gardener in Santa Clara.