Published in the March 14 – 27, 2018 issue of Morgan Hill Life
 Starting seeds is the joy of spring gardening in Morgan Hill. It reflects confidence in natural cycles, the self-discipline to plan ahead, and the patience to wait for results.
Timing is everything
As much as warm winter days (and glossy seed catalogs) may tempt us, Morgan Hill gardeners are wise to wait. According the almanac of farming fame, Morgan Hill’s last frost date is Feb. 15, while the NOAA warns that gardeners have a 10 percent chance of freezing temperatures as late as March 20! Starting too soon is simply a waste of time and seed.
Seed selection
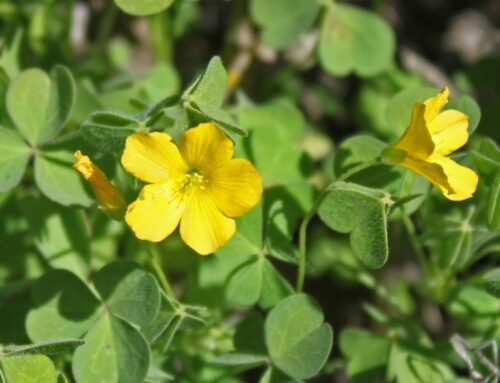
Before planting, decide what you want to grow. Browsing seed catalogs can be intoxicating. Rather than ordering everything that looks good, find plants that are suitable to your microclimate, won’t need a lot of water, and are non-invasive.
Read the label
Most seed packets are a wealth of valuable information that includes an image of the plant, description, and any special needs. Labels also list the year, timing, planting depth and spacing, thinning, sunlight, and watering needs of each plant. Use this information and save it for future reference.
Soil selection
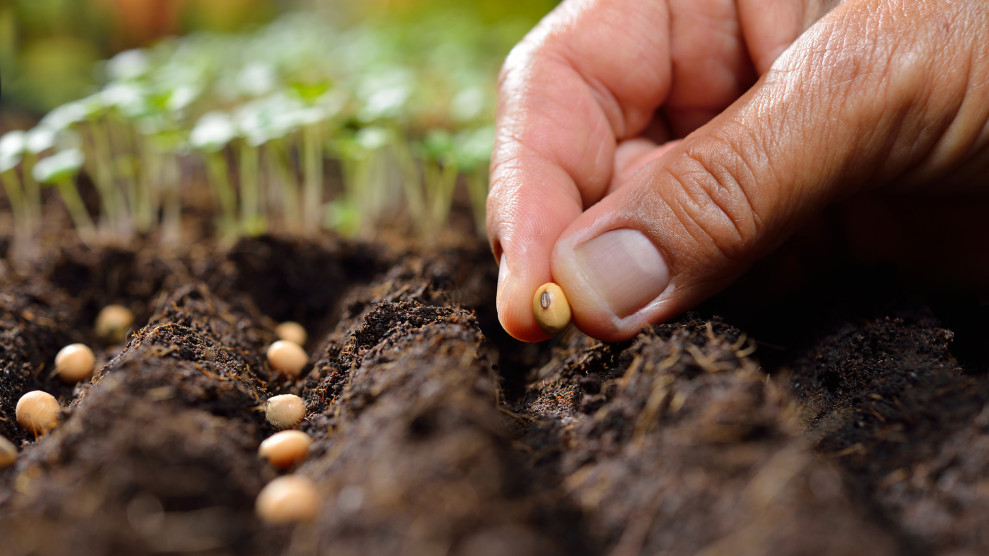
Some seeds can be planted directly into the ground. This is called direct sowing. While all growing areas will serve your plants better if they are regularly fed with aged manure and compost, this is especially true for seeds and seedlings. They have a lot of work ahead of them and need all the nutrients they can get their little root hairs into. Most seeds are better off started in small pots filled with high quality potting soil or starter mix.
Select containers
Starting seeds in small containers is the easiest way to begin. Placing one seed into each small container allows tiny roots to develop unchallenged. It also makes transplanting less stressful. You can reuse plastic seed starting pots, called ‘cell flats’ from when you buy seedlings. Remember to clean and disinfect flats to avoid spreading pests or diseases. You can make biodegradable planting containers from paperboard egg cartons, newspaper, or toilet paper tubes, or you can buy seed starter pots. Take-out food containers, with clear plastic lids, can also be used for seed starting. The plastic covers keep warmth and moisture in.
Start planting!
Once you have collected your seeds, containers, and potting soil, you are ready to plant. Labels made from Popsicle sticks are very handy, too. Labeling is important because many young plants are difficult to tell apart until they are long past the transplanting stage. Follow these steps for successful seed starting:
- Fill all containers loosely with potting soil, tamping it down gently.
- Place one seed in the soil to the depth specified on the packet.
- Add a dated plant label to each pot.
- Place flats on a water-resistant surface that will receive six to eight hours of sunlight each day, where they will be safe from slugs and snails.
- Gently and thoroughly water the flats. For seeds left on the soil surface, use a mister to water, to avoid washing them away, or pushing them too deeply into the soil. Soil should be kept moist, but not soggy, until the first true leaves are seen.
- Some plants, such as peppers, may need extra heat from a heating mat.
Now the seeds are started and waiting begins. Use this time to prepare your garden beds, raised beds, containers, towers, and other planting areas so they will be ready when it is time for transplanting,
Stop by the Spring Garden Market from 9 a.m. to 2 p.m. April 14 at Martial Cottle Park for spring planting needs.
Kate Russell is a UCCE Master Gardener in Santa Clara County. She wrote this for Morgan Hill Life.